Attic fan installation is one of the most effective ways to keep your home cool and energy-efficient. By circulating air through your attic space, you can substantially reduce the heat that builds up, making your home’s cooling system more efficient and your living conditions more comfortable. Despite the benefits, many homeowners find the installation process overwhelming. This guide aims to simplify that process by providing you with a step-by-step breakdown, as well as essential tips and precautions.
Why You Need an Attic Fan
Installing an attic fan is not just a trendy home improvement; it’s a functional upgrade that can benefit your home in several ways. One of the primary advantages is heat reduction. During the summer, temperatures in the attic can soar, reaching up to 150°F or more. This heat can radiate down into your living spaces, making your air conditioning system work harder to maintain a comfortable temperature. By ventilating the attic, a fan helps reduce this burden on your cooling system, thereby saving you money on energy bills. Additionally, proper ventilation can help prevent moisture buildup in the attic, reducing the risk of mold and mildew.
Types of Attic Fans
There are three main types of attic fans: gable mounted fans, roof mounted fans, and solar attic fans. Gable mounted fans are installed at the gable end of the attic and are typically easier to install since they don’t require roof penetration. Roof-mounted fans, on the other hand, are installed directly on the roof and are generally more powerful but require more work in terms of installation. Solar attic fans use solar panels to operate, making them energy-efficient but less powerful compared to their electric counterparts. Your choice will depend on your specific needs, including the size of your attic and your energy-saving goals.
Selecting the Right Size
Choosing the right size of attic fan is crucial for effective ventilation. To do this, you’ll first need to calculate the volume of your attic in cubic feet. This is generally done by multiplying the attic’s length, width, and height. Once you have this number, look for an attic fan that has a Cubic Feet per Minute (CFM) rating suitable for your attic size. The CFM rating is an indication of how much air the fan can move per minute, and choosing an adequately rated fan will ensure that your attic is ventilated effectively.
Solar vs. Electric: Making the Right Choice
Solar attic fans have the advantage of being more energy-efficient and easier to install since they do not require electrical wiring. However, their performance is dependent on the availability of sunlight, and they are generally less powerful than electric fans. Electric fans, on the other hand, offer consistent, high-power performance but can be more complex to install and will contribute to your electricity bill. Your choice between solar and electric will depend on your specific needs and what you are willing to compromise on—either operational cost or ease of installation.
Planning and Preparing the Area
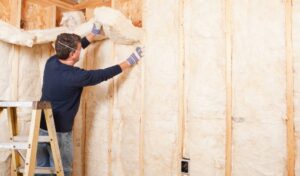
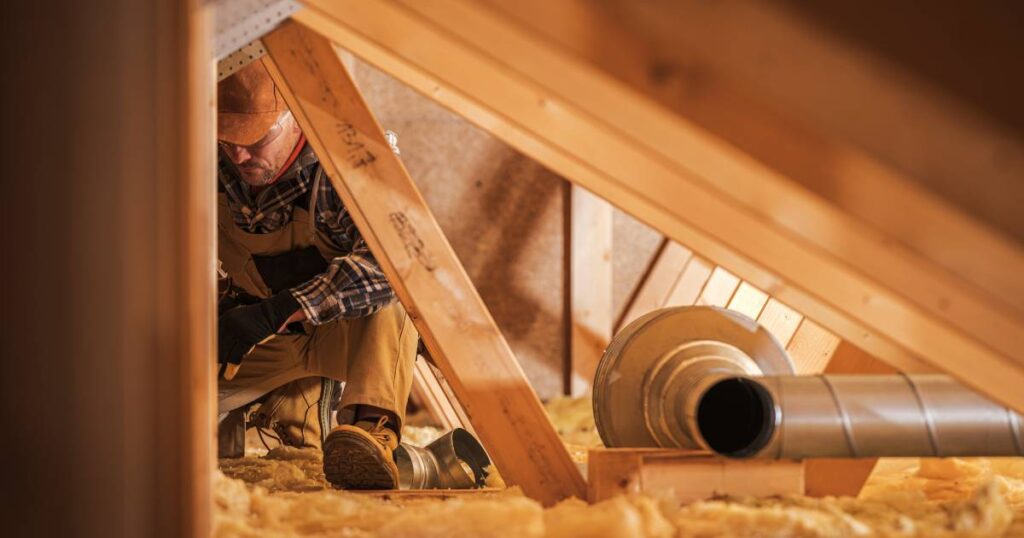
Before you start installing the fan, you’ll need to decide on the location. For gable mounted fans, this will usually be on a gable vent, while roof-mounted fans should be positioned away from roof obstacles for maximum airflow. It’s also important to ensure there is adequate passive venting like soffit vents or other types of intake vents to support the attic fan. These vents will provide the incoming air that the fan will expel, ensuring a balanced airflow system.
Safety Measures
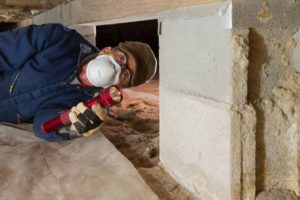
Safety should be your number one priority during installation. Always turn off electricity in the area where you’ll be working and use a reliable, sturdy ladder for elevated work. Safety goggles and gloves are also essential protective gear that you should wear to protect against debris and electrical components.
Tools Required
For a typical installation, you will need a ladder, a screwdriver, a drill, a measuring tape, and wire strippers if you’re installing an electric fan. Having all these tools readily available can make your installation process much smoother.
Pre-Installation Checklist
Before you start cutting holes or installing the fan, double-check that you’ve obtained any necessary permits from your local municipality. Many local codes require a permit for this kind of electrical installation. Also, ensure that you have all your tools and materials ready, including screws, mounting brackets, and electrical supplies if you’re installing an electric fan.
Cutting the Opening
The next step is to cut an opening in your chosen location, whether it’s the gable or the roof. Always measure twice to ensure you cut once. Use a saw to carefully cut the hole, and make sure to wear protective gear like a dust mask and safety goggles during this process.
Installing the Fan
After the hole is cut, proceed to mount the fan according to the manufacturer’s instructions. For gable mounted fans, this will usually involve screwing the unit into the existing gable vent. For roof-mounted units, you will need to attach a mounting bracket to the roof and possibly apply a weatherproof sealant around the base to prevent leaks. If you’re installing an electric fan, ensure all electrical connections are made according to local building codes, and it’s often advised to consult a professional for this part.
Testing the Fan
Once your fan is securely installed, turn the power back on and test it to make sure it’s working correctly. Check for any unusual vibrations or noises, which could indicate a problem with the installation.
Troubleshooting Common Issues With Attic Fan Installation
If you face issues like vibrations or excessive noise, the most likely culprit is an insecure installation. Ensure that all screws are tightly fastened and that the unit is securely attached to its mounting.
Maintenance Tips
Your attic fan will require occasional maintenance to keep it functioning well. This generally involves a visual inspection at least once a year to check for dust or debris on the fan blades or motor, and cleaning as needed.
Cost Analysis
The costs associated with installing an attic fan can vary widely depending on the type of fan you choose and whether you opt for a DIY installation or hire a professional. However, you should consider this as an investment that will pay off through energy savings and improved home comfort.
Warranty and Customer Support
It’s important to understand the terms of your attic fan’s warranty. Some warranties are voided if the fan is not installed by a professional, so make sure you read the fine print.
Installing an attic fan is a straightforward process if you’re prepared and take proper precautions. The benefits, from improved comfort to energy savings, make this a worthwhile home improvement project. Make sure to consider all aspects, from size and type to location and safety, to ensure that you get the most out of your attic fan installation.